Today I’m going to show you how to make a pink and red leather handbag. A Valentine’s Day DIY project you use on Valentine’s Day or another other day of the year.
I’m not a big Valentine’s Day person. Honestly, I can’t tell you the last time the hubby and I went out on Valentine’s Day. I don’t dislike the holiday or anything it gave me an excuse to make this pink and red leather handbag a However, February is a busy month around here. Both of the kids’ birthdays are this month, and mine is in March. Between planning their parties, celebrating my birthday, and throwing in the fact that February is a short month, Valentines just gets moves to the bottom of the “important things” list.
Don’t get me wrong, I love the colors associated with this candy and flower obsessed holiday. I think pink and red make a great color combination, but it’s not for the faint of heart. It’s most definitely a bold statement, but when done right, it can look great.
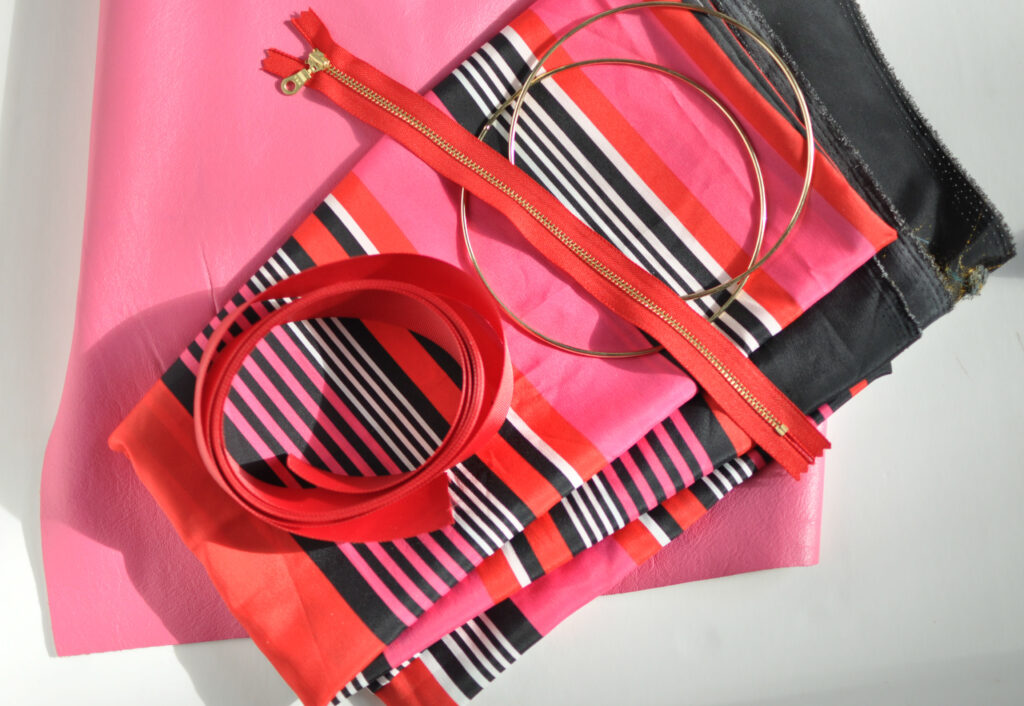
Materials – Pink and Red Leather Handbag

Obviously, you can choose whatever color combo appeals to you, but here is a list of what I used to make my DIY Valentine’s Day Pink and Red Leather Purse. Keep in mind you don’t have to use leather to make this project. You can just as easily use any study woven material.
Outer fabric 1/2 yard
Lining Fabric 1/2 yard
Medium weight fuseable interfacing 1/2 yard
Lightweight fuseable interfacing 1/2 yard
Contrasting grosgrain ribbon 10″
Contrasting zipper 14″
Round brass handles
Optional Materials -Pink and Red Leather Handbag
Flexible plastic (plastic cutting board)
Thin foam 1/4 yard
Instructions – Pink and Red Leather Handbag
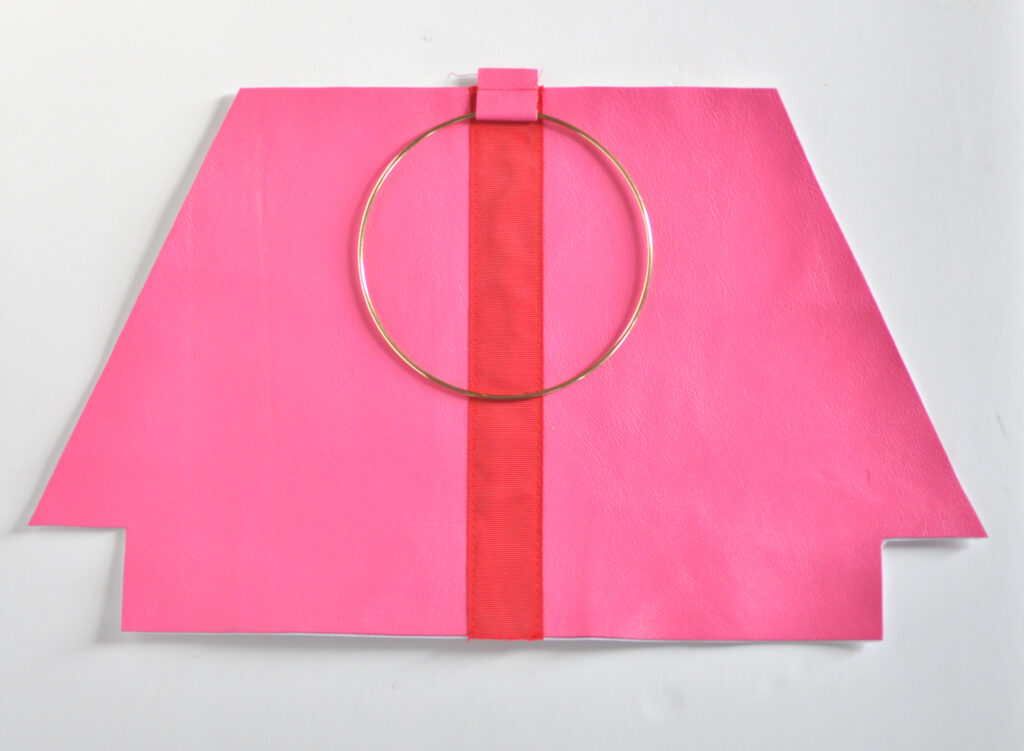
I drafted this pattern myself and it measures 11″ x 11″ x 20″ with a 2″ square cut out of each bottom corner. I know it looks odd but I wanted to create an exaggerated silhouette. The finished bag measures 14″ x 10″ x 9″.
The easiest way to make the pattern is to draw a trapezoid (see photo below). The top measures 11″, the bottom measures 20″, and the sides measure 11″. Then cut a 2″ square out of each bottom corner to create the gusset.
Cutting the Fabric
Cut all fabric, lining all interfacing using your pattern. Following the directions fuse the lightweight interfacing to the wrong side of your lining, and fuse the medium weight interfacing to the wrong side of your outer fabric.
Then cut 2 pieces of leather that measure 1.5″. These are the tabs for the ring handles. If you are using leather you don’t need to finish the edges. If you are using fabric see this tutorial to sew the tabs. Be sure to use 3″ x 3″ piece of fabric instead of 1.5″ because you will need to finish the edges.
Assembling the Bag
Find the center of the top of your bag and mark the inside of both pieces of your outer fabric. Now, refer to this tutorial and wrap the tab around your handles. Secure with a pin or clip (if using leather) and sew a stitch about 1/2 down to secure the ends of the tab around the ring.
Next turn the rings upside down and line the tab up on the front side of the outer fabric where you made your mark. Secure to the outer fabric by stitching together inside the seam allowance. This will keep it in place when you sew on your zipper.

Next take your zipper and lay it on top of the outer fabric sandwiching the tab in between and secure with a few clips.
Then place the lining fabric on top of the zipper with the right side of the lining facing the right side of the outer fabric. Again refer here for a visual.

Now, sew the zipper, handle and fabric together. Repeat on the other side.
Next, fold the bag so both outer fabric pieces are facing with right sides together, being sure to fold the zipper towards the lining. Stitch around the outside of the bag using a 1/4″ seam allowance. You can check out this tutorial for more pictures.


Repeat with the lining pieces. Stitch around all three sides leaving a 5″ opening in the bottom of the lining.

Flip bag right side out.

Optional Step
*Next cut piece of flexible plastic that measures the same size as the bottom of your bag. I use plastic cutting boards. Cover both sides with a thin piece of foam stitching all the way around. This gives your bag some structure so it doesn’t sag once you put all your stuff in. You can find photos and instructions on how to this here.
Sew the bottom of the lining. Turn lining into your bag.
And you’re done! Now, fill up your pink and red leather handbag, put on your Valentine’s date night dress and celebrate!

Stay tuned if you are interested in learning how to make the round monogram key chain. I’ll be writing up a post about that and some other key chains soon!
Thanks for reading. Hope you’re off to a good week!
