So, I recently learned how to shirr fabric. Shirring is when you use elastic thread to create a stretchy piece of clothing out of non-stretch fabric. It is very easy although a little more time consuming than making a regular garment. The great thing about shirring is that you don’t need to worry about fitting your garment like you would a non-stretch garment.

I used to buy pre-shirred fabric from Joann. The only problem is that I never loved their fabric options and it was a little pricey for what it was. However, now that I know how to do it myself, my fabric options are limitless!!! And speaking of fabric options, I made this dress out of a Kate Spade tablecloth.
I love Kate Spade prints! They are always so fun, bright and happy! I made a skirt out of this table cloth and a dress out of this table cloth last summer. You can read about them here and here. Once I realized I could buy a Kate Spade tablecloth for a fraction of the price of one of their dresses and design my one dress, I was hooked!!!

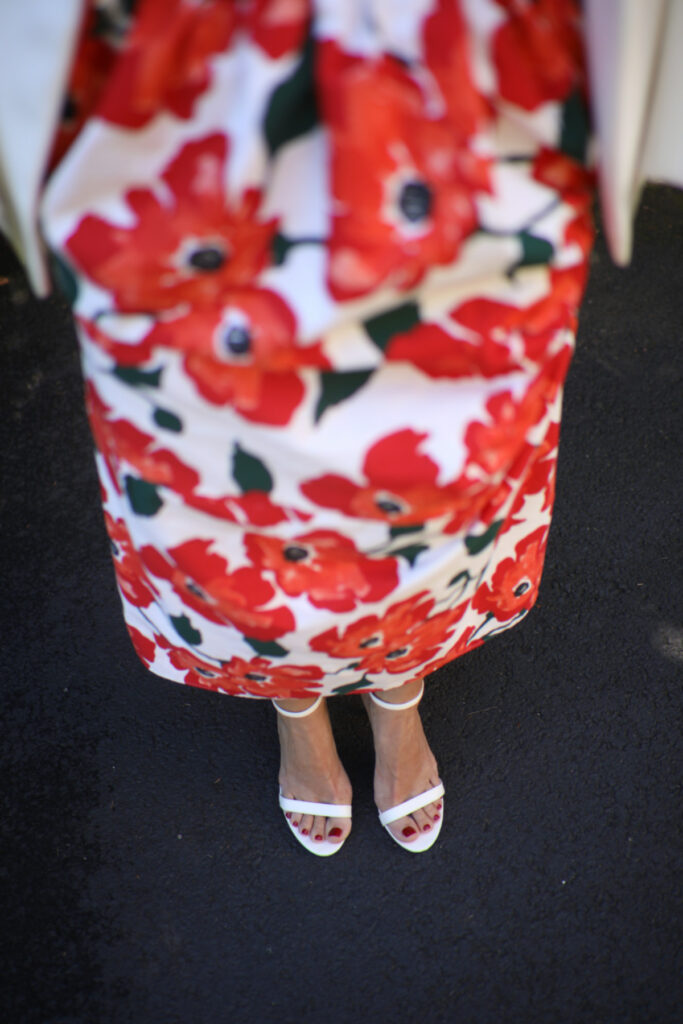
This dress turned out great! Although, based on the photo on the pattern package I assumed the tiers would be fuller. However, I can always go back and adjust them later. I am also going to add some straps. The dress is a bit heavy due to the amount of fabric and straps would make it a little more comfortable. The last thing I need is a wardrobe malfunction.
How to Shirr Fabric – Cutting Your Fabric
This technique couldn’t be any easier. Start by taking your bust measurement and multiply it by 1.5. I’m a 36c so my measurement is 54 inches. This is the width of your fabric.
I cut the length of my fabric 14in. The length of my bodice was about 12 inches when I was done. Fourteen inches will give you a little wiggle room for your seam allowances. You will probably end up cutting some fabric off the bottom, but better safe than sorry.

Sewing Shirred Fabric
The trick to shirring fabric is using elastic thread. I used this thread that I bought at Joann Fabric. Unfortunately, there isn’t a lot on the spool so I recommend buying two. You are only going to put the thread in your bobbin, and then use regular thread in your needle.
In order to achieve the shirring, all you need to do is sew straight lines across the width of your fabric.
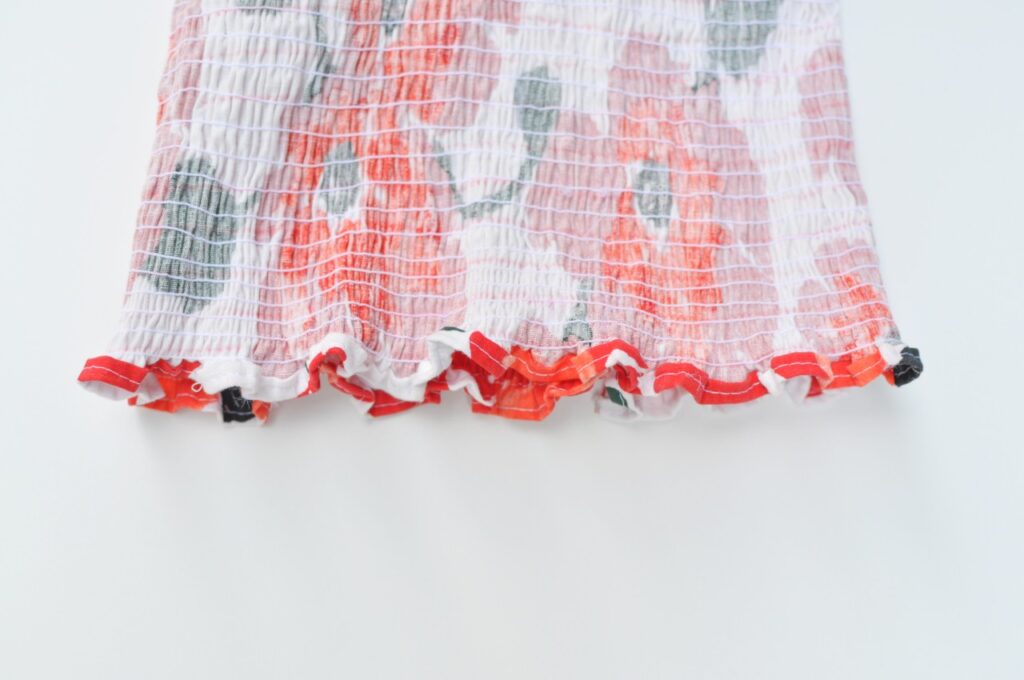
First finish the top edge of your fabric however you like. I serged mine. Then fold it over twice and stitched it.
Sewing The Rows
Now you are going to begin sewing your rows. You are going to sew on the RIGHT side of your fabric because you want the elastic thread on the WRONG side of your fabric. I made this mistake and sewed about 8 rows before I realized it and had to remove the stitches.
I space my rows about a 1/4 inch apart. Some people will tell you to draw lines on the wrong side of your fabric. I did this here and you can sort of see them, but I find this really time consuming. I ended up using the width of my presser foot as my guide. I lined up the edge of my foot with the previous row of stitches. It comes out to about a 1/4 inch.
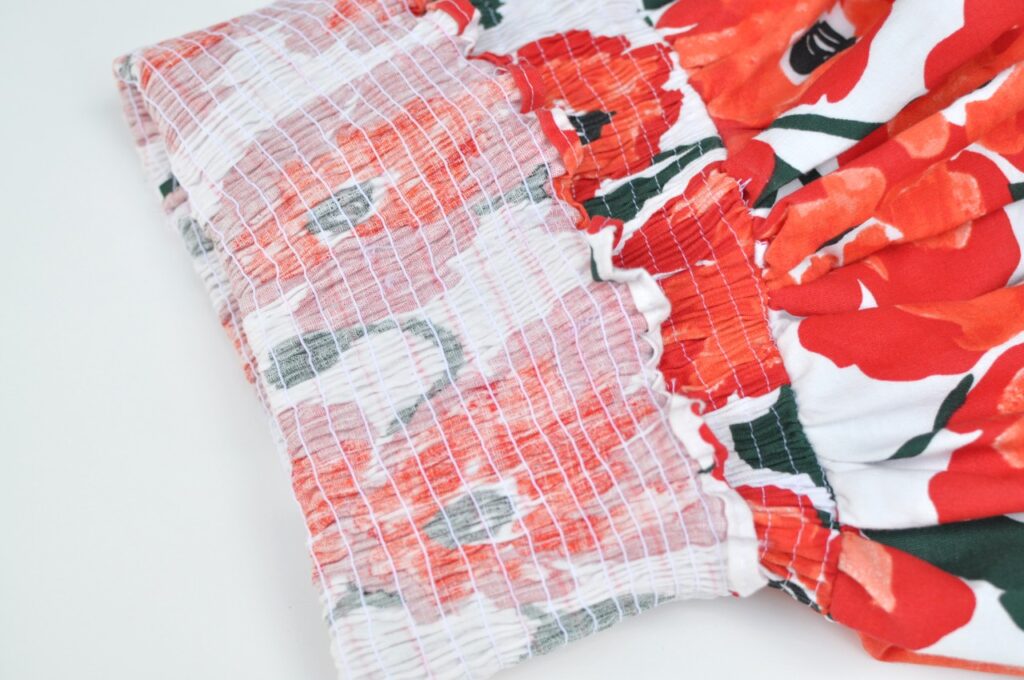
The closer together you stitch your rows the tighter the shirring will look. That also means you will be sewing more rows. To make the bodice on my dress I sewed 30 rows from top to bottom.
As you begin the sew, the fabric will begin to shirr/gather on its own. The first few rows might not look that gathered but, be patient. The more rows you sew the more shirred the fabric becomes. Once the fabric begins to shirr you will need to stretch it flat to continue sewing.
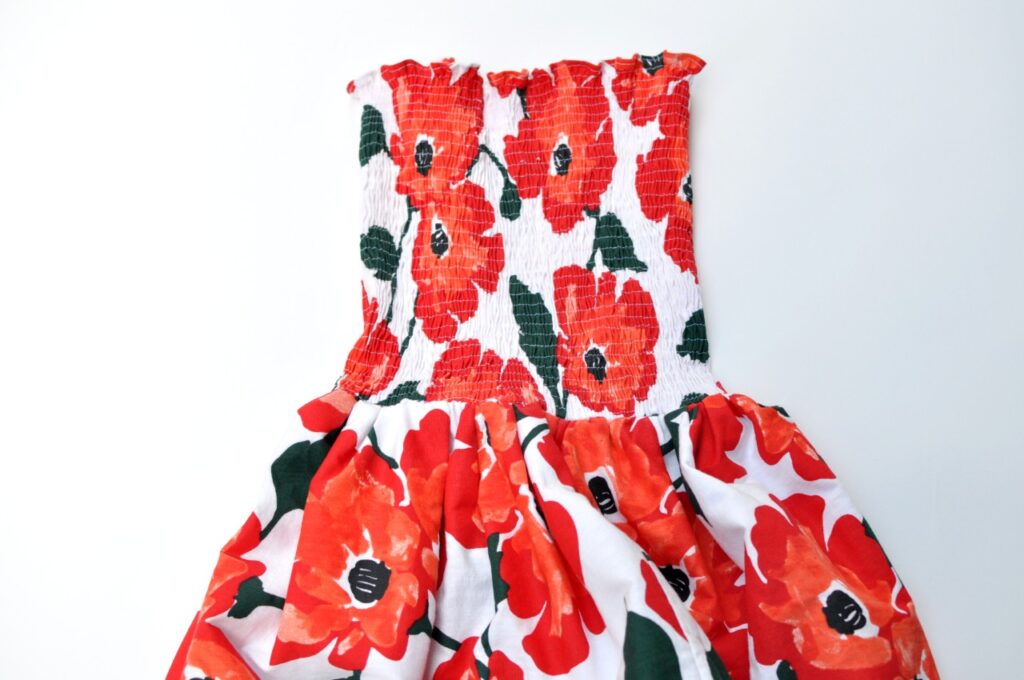
Once you have completed all your rows you need to stitch the bodice closed. With right side together, still using the elastic thread, stitch the seam closed creating a tube.
Things to Be Aware Of…
Once you have completed your bodice you are going to sew it to your skirt. I used Mccalls 7604 skirt pattern to create my skirt. I like how it looks, but I had to gather a lot of fabric to create the waistband and it was tricky sewing the two pieces together, just an FYI. If it’s your first time with this project maybe create a skirt that is a little less full. It won’t be a bulky when you stitch the two pieces together.
Also, you need to use the elastic thread for attaching the bodice and skirt together. This give it stretch so you can get it on. HOWEVER, you will have to remove the stitches you made to gather the skirt. I know this sounds like a pain, but you need to use regular thread to gather the skirt. Because regular thread won’t stretch you won’t be able to get the dress on if you don’t remove the gathered stitches.

There you have it! Now you can make your own shirred bodice dress!
Thanks for reading! Hope you are off to a great week.
Photos by Chloe Jane Photo+Film
